

The DarwinFPV Tiny APE is perhaps one of the best pre-built, budget-friendly FPV drones I’ve reviewed. It comes with a high-quality RunCam Nano 4 camera, a powerful 600mW VTX, and a versatile F4 flight controller with an onboard ELRS receiver. Let me show you the pros and cons of the TinyAPE 2.5″ freestyle quadcopter.
FPV drones offer the most immersive flying experience you could have with quadcopters, but that First Person View comes with its own challenges. Before you start with this hobby, you should practice with computer RC simulators, otherwise will be just a short and expensive visit in the FPV world.
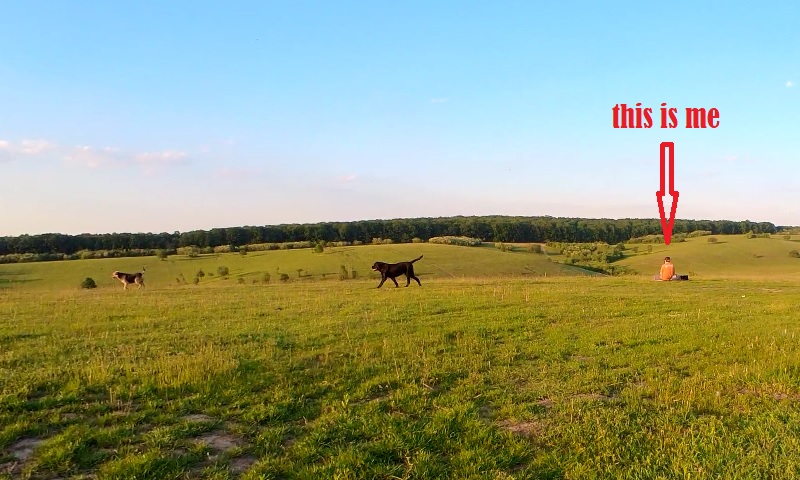
Flying FPV can be dangerous in many ways, for example, when I tested the DarwinFPV Tiny APE with the FPV headset on my head, I felt something that smelled of me. I had to make a quick decision, to let myself be eaten alive by a beast or remove the goggles and crash the drone to defend myself :). I decided to make a quick turn and fly back to me. I saw three curious dogs inspecting me through my DJI FPV goggles. My recommendation is to always have a friend around you who supervises both you and the drone.
Like most FPV quadcopters, the DarwinFPV Tiny APE also features 3 flight modes. While Angle and Horizon are stabilized modes suitable for first-time pilots, Acro mode is for experienced pilots. Acro mode is where the pilot has total control over the drone, allowing cool freestyle movements.
DarwinFPV Tiny APE hands-on review
Disclosure: I received this 2.5″ FPV quad as part of a product review collaboration with DarwinFPV. Product specs and quality may vary according to the manufacturer’s reliability, so I cannot guarantee that you will get a drone that performs exactly the same as seen in my article.
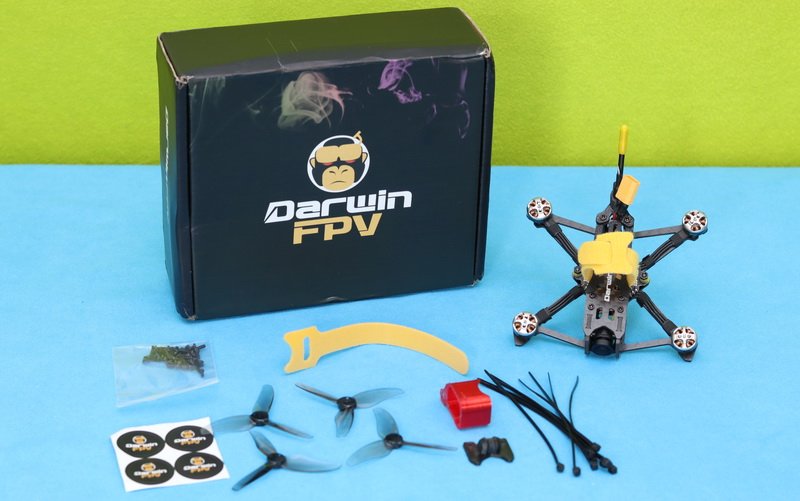
The Tiny APE is packed in a small box with foam padding, and it comes with the following accessories: a set of propellers, spare battery velcro, a bag of screws, a few zip-ties, 3D printed RunCam Thumb camera mount, and some bonus DarwinFPV stickers. There is no detailed instruction included, just an A4 page with the Darwin ELRS2.0 F411 flight controller’s wiring diagram.
At a glance
Tiny APE is a pre-built FPV drone; you just need to mount the propellers. The bag includes four sizes of screws. Take attention that if you use too long ones for propeller installation, this can damage the motor’s winding.
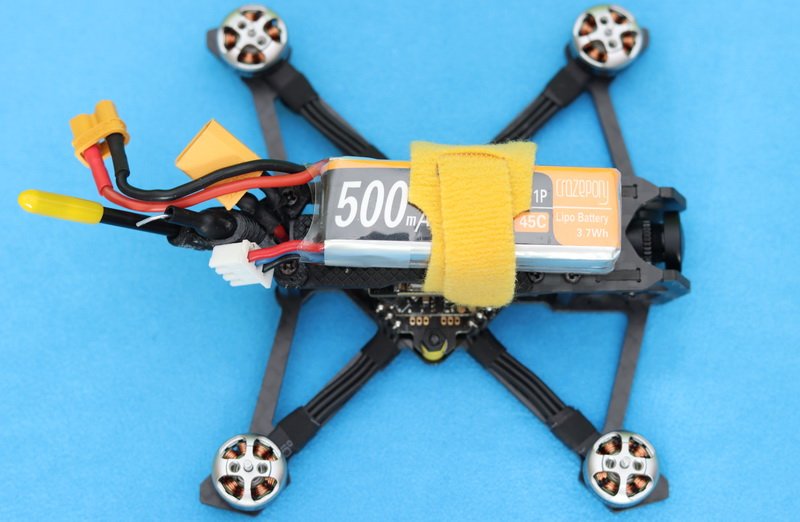
Intended for freestyle, it has a ‘Wide X’ geometry with arms splayed outward to the side. The wheelbase (diagonal motor-to-motor distance) is 100mm. Without a battery, it weighs exactly 50 grams. The front and rear arm bracers ensure better impact resistance. The top plate has anti-slip rubber padding for firm battery installation. On the tail are the XT30 battery plug, 5.8Ghz VTX, and 2.4G RX antennas.
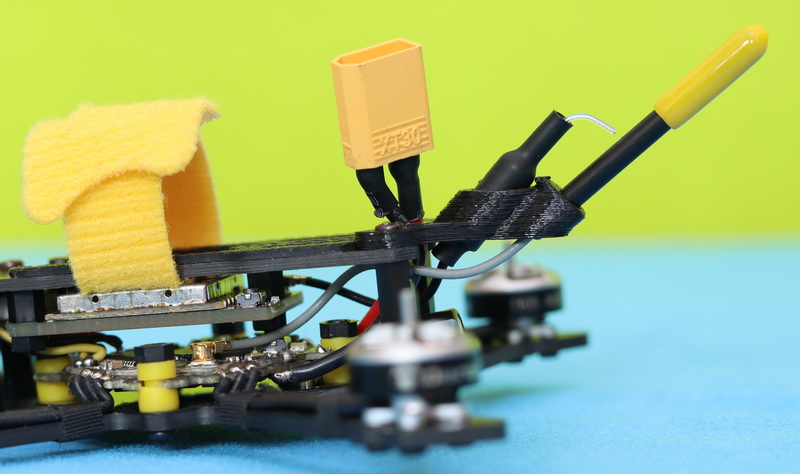
The F411 AIO flight controller is installed on the bottom plate using vibration grommets. On top of FC is the 600mW VTX board. Inside, everything looks clean and well-organized. The micro USB port is easily accessible from the bottom.
Its tiny 1103 8000KV motors are equipped with Gemfan 2512 propellers. The manufacturer says that the drone can be powered with 2s and 3s LIPO packs, but on full throttle using 3-cell batteries, the motors can be damaged.

FPV system (Camera & VTX)
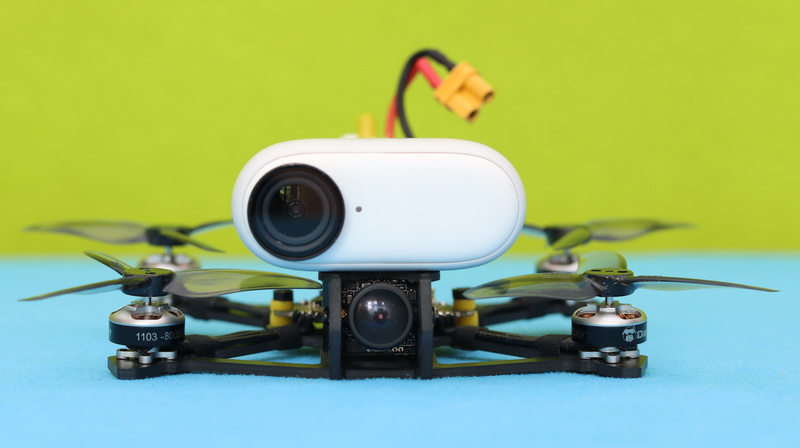
The Tiny APE comes with an onboard RunCam Nano 4 camera equipped with a 1/3” CMOS sensor and a 2.1mm lens. Despite that is not intended for long-range flights, it comes with a high-power 5.8G FPV transmitter. Broadcast power can be toggled between 25-600mW from the VTX’s button, BetaFlight configurator, or remotely via SmartAudio.
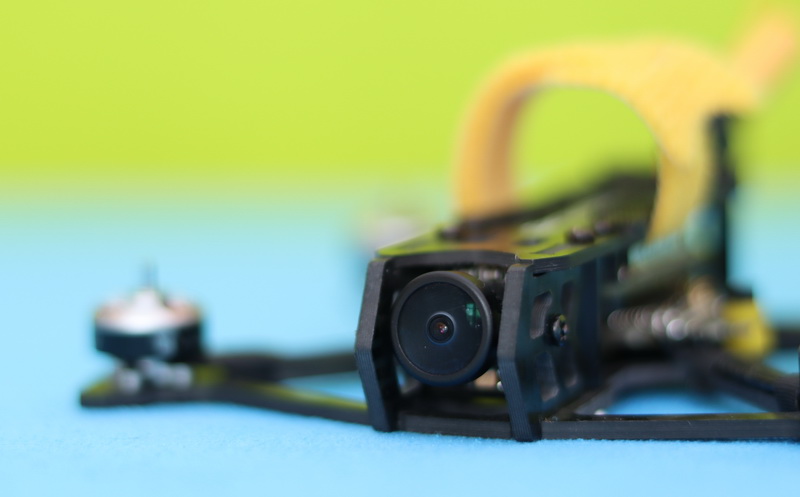
As I previously mentioned, DarwinFPV packs with the Tiny APE a RunCam Thumb camera mount for onboard recording.

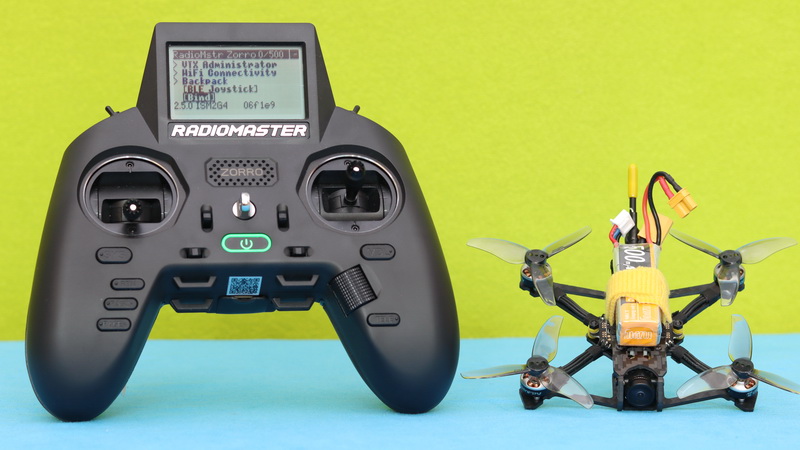
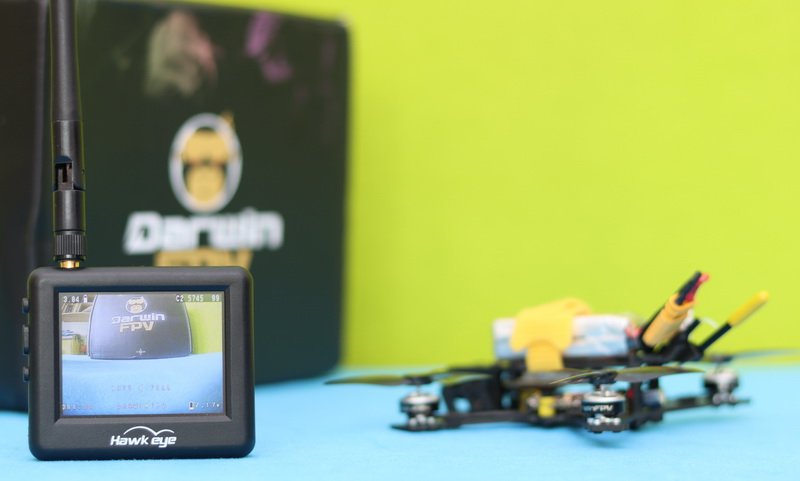
Binding with RadioMaster Zorro ELRS
ExpressLRS is well known for its better range and better penetration than most existing drone radio systems. The TinyAPE features an integrated ELRS radio receiver with a v2.0 software version. My RadioMaster Zorro transmitter was recently updated to v2.4. If both TX and RX have the same ELRS version (v1.xx or v2.xx) they should bind without any issue, but this is only in theory because I didn’t manage to make them work together.
Firstly, I tried to upgrade the Zorro to the latest V2.5.0 ELRS, but nothing. Next, I downgraded it to v2.0.0. Same thing. Remember, when you change the ELRS version, you must replace the corresponding LUA script.
After doing some research, I read that it is recommended to upgrade the Tiny APP’s flight controller from BetaFlight 4.3.0 to the newest 4.3.0 – RC6 (25.04.2022). After doing a configuration backup from CLI, I performed the firmware upgrade using the BetaFlight configurator. The operation failed till I upgraded the BETAFPVF4SX1280 board’s serial com port DFU driver using ImpulseRC Driver Fixer.
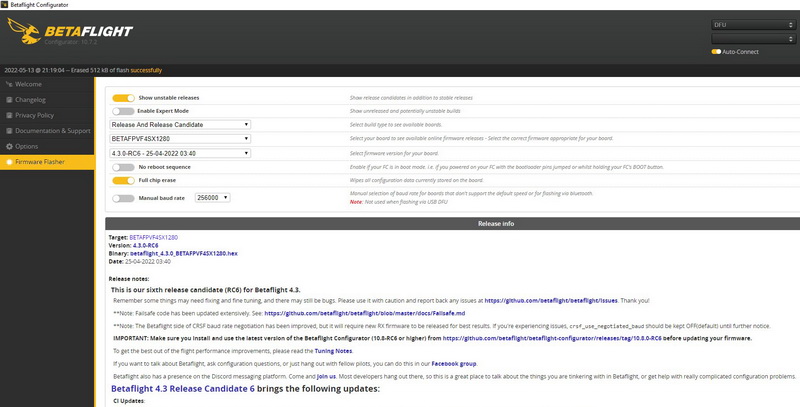
Hoped that finally, I fixed everything, and I repeated the pairing steps. First, I selected the ‘Bind’ option from the RC’s menu, then I enabled the ‘receiver pairing’ option under the ‘Receiver’ tab in BFC. In a few seconds, the telemetry signal monitor was shown on Zorro’s status screen, confirming that the binding process succeeded.
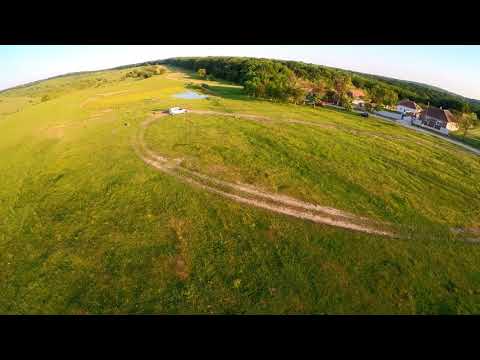
Flight experience
Initially, I did a quick indoor hovering test to see if everything was correctly configured (flight modes, switches, VTX, etc) and if the props were correctly installed. For the test, I used a 2S/500mAh LIPO battery. Everything worked as it should, so the next day I went out for a true maiden flight.
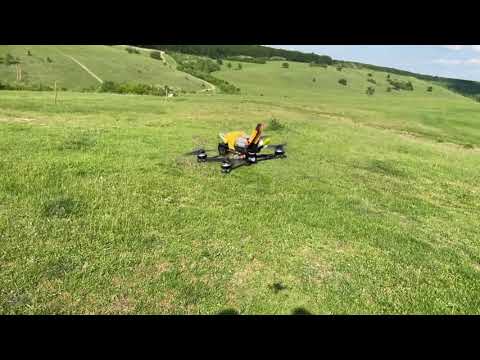
In angle mode, the DarwinFPV Tiny APE is very stable and easy to fly. I like that is very silent. Using the VTX at 400mW, I got a decent FPV range but not spectacular, probably, that tiny antenna does not do a great job.
It has lots of extra power. Using two rubber bands, I installed my Insta360 GO2 camera, no flight performance problem due to the additional weight. DarwinFPV says that you can have about 5 minutes of flight time with a 380mAh (3s) or 450mah(2S) battery, which is close to my results.
I had only a minor crash that ended with a cracked arm, but luckily it is still in working condition for more adventures.
Price and availability
The TinyApe can be ordered from DarwinFPV with a starting price of $129.99. For extra $60 bucks, you can get it in a bundle with a RunCam Thumb camera that allows 1080@60fps recording in just 10 grams.
What do you need to get it in the air?
The Tiny APE is sold in a BNF package (Bind aNd Fly), which means that it comes with an onboard radio receiver, but you will need to use your remote controller. Besides an ExpressLRS-compatible transmitter, you will need one or more LIPO batteries (2S 350-650mAh) and a charger. Additionally, for first-person flights, you will also need a 5.8GHz FPV goggles.


Excellent tiny drone for learning to fly FPV, I give 4 stars out of 5 because ELRS RX is onboard, otherwise it is excellent.
Visitor Rating: 5 Stars
Cute drone! So what flight time can you get with 3s?
Visitor Rating: 3 Stars
Only a 2.0mm thick frame? It will not last to much!
Visitor Rating: 3 Stars
Visitor Rating: 5 Stars
Just got one of these. Super fun!
Visitor Rating: 3 Stars
Visitor Rating: 4 Stars