

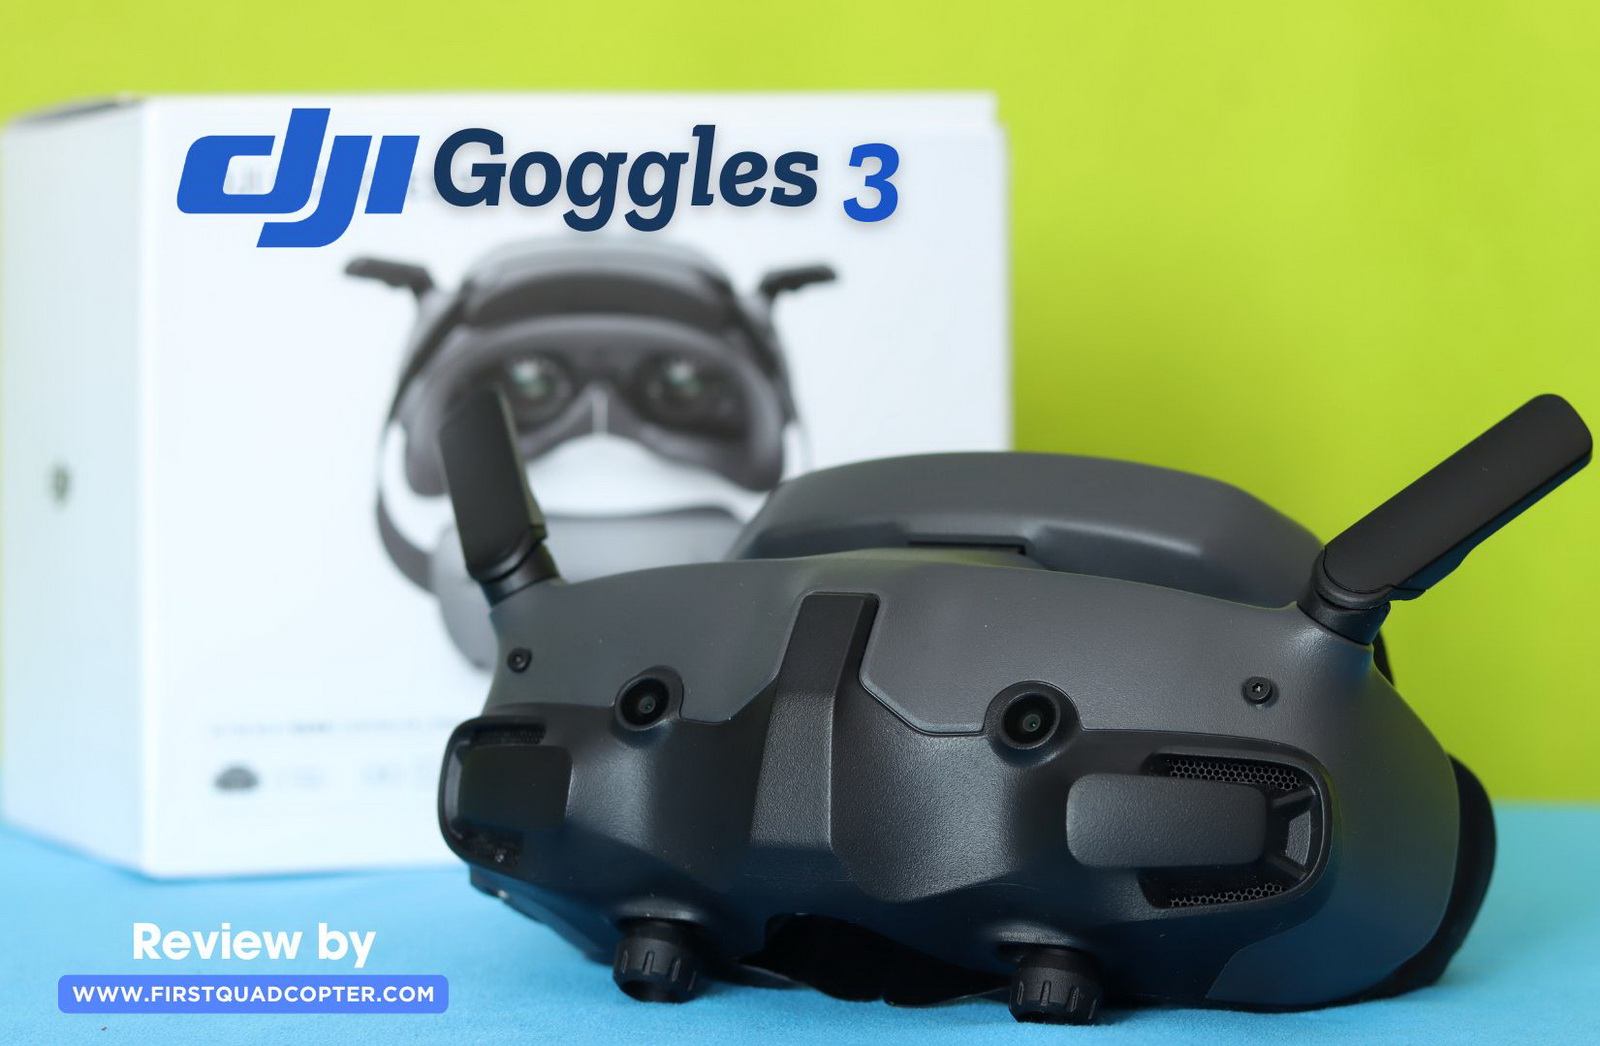
I’ve been using the DJI Goggles 3 since they were released on the market, for close to two years. Only now—after getting the Avata 360—did I realize I never actually published a review for them. Over this time, I’ve tested the Goggles 3 with more than ten different drones, including both DJI models and custom-built FPV setups. This article is based on real-world user experience, not just a quick showcase of a sponsored product.
FPV goggles are probably the most expensive part of an FPV setup, but luckily, they’re also among the longest-lasting. For example, I’ve been using an analog headset for more than eight years. The expected life cycle of the DJI Goggles 3 is around five years, which makes them a solid long-term investment. They come with a wide range of product compatibility and offer top-notch features such as head tracking and built-in cameras for a see-through (rear view) experience, adding both convenience and immersion to your flights.
Before the Goggles 3, I used the Goggles V2—my first digital FPV headset, and it truly impressed me with its image quality compared to analog FPV systems. It served me well for many years, but with the release of the DJI O4 Air Unit system, I needed to upgrade to stay compatible.
The Good, the Bad, and the Brilliant of the DJI Goggles 3
To start with, I should mention that this review is not sponsored. I purchased the DJI Goggles 3 for personal use, and I’m not paid in any way to create this article.
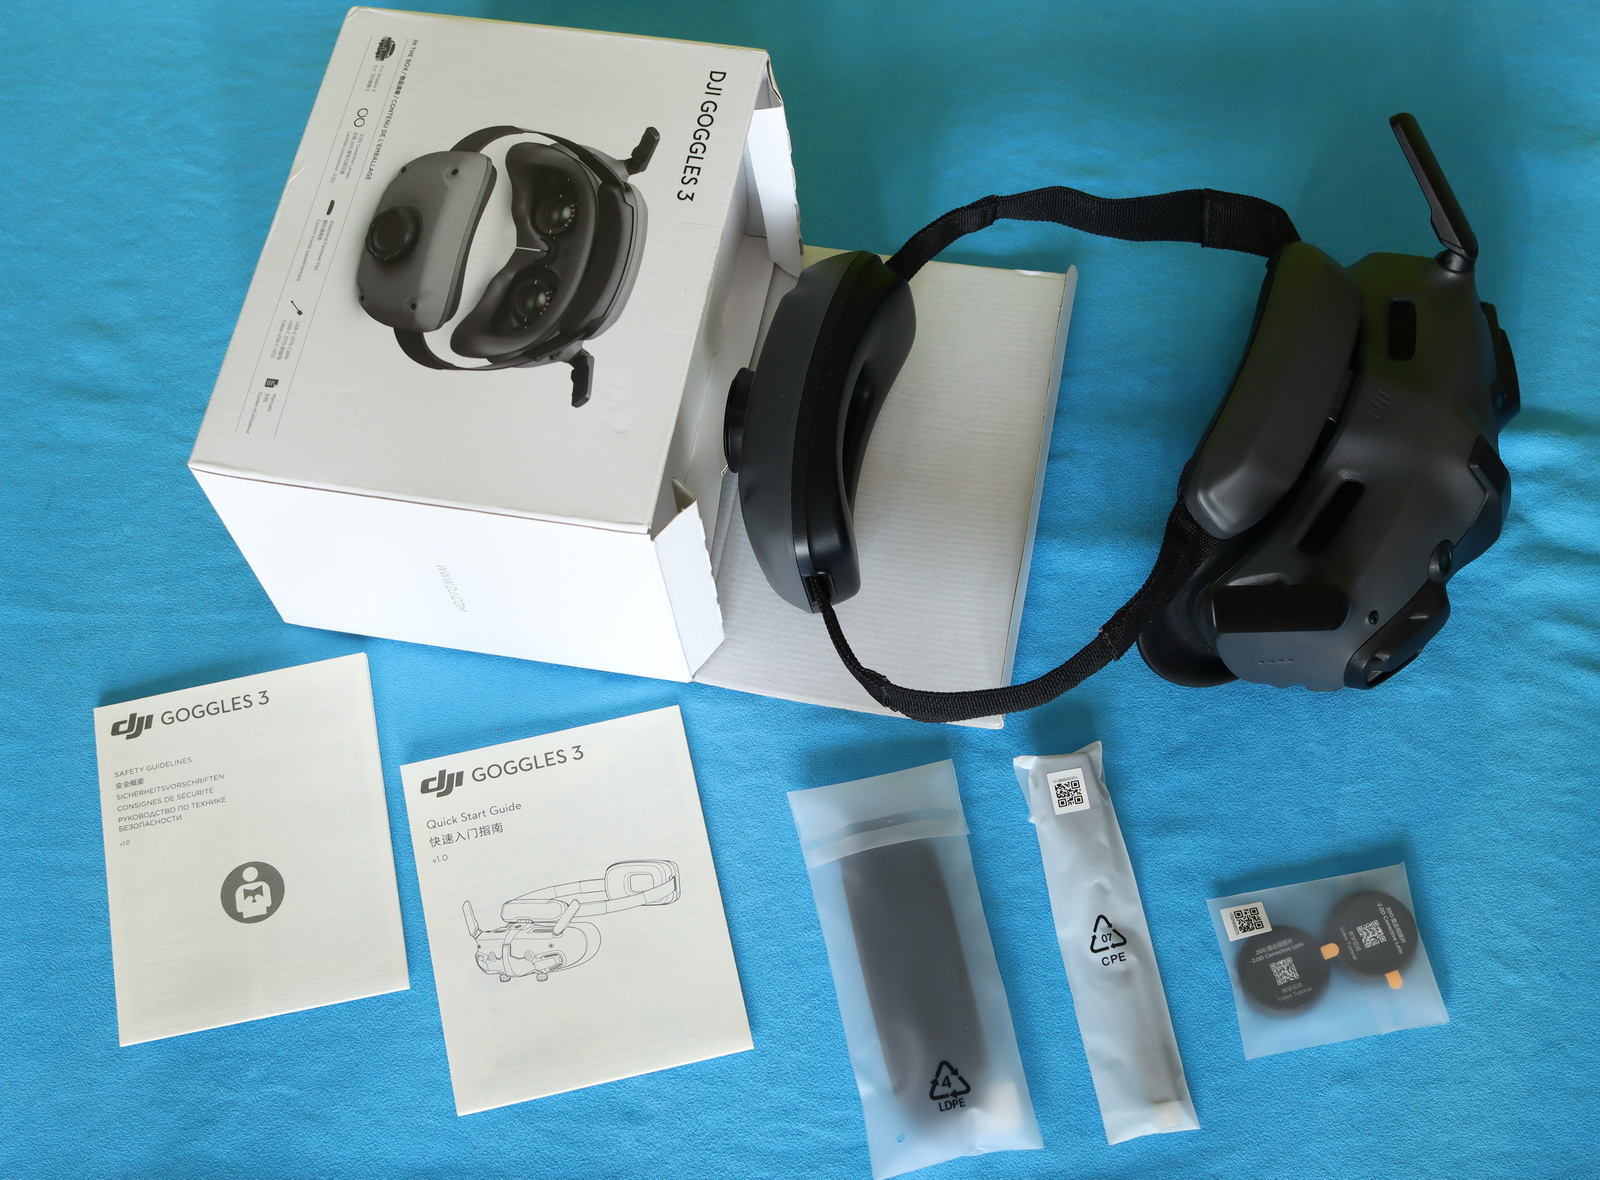
While most goggles, including the Walksnail Goggles X, come without a battery included, the DJI Goggles are intended to be used out of the box and feature an integrated battery pack in the headband. This approach keeps the setup comfortable and clean without visible wires. The 3000 mAh battery allows about 3 hours of usage time.
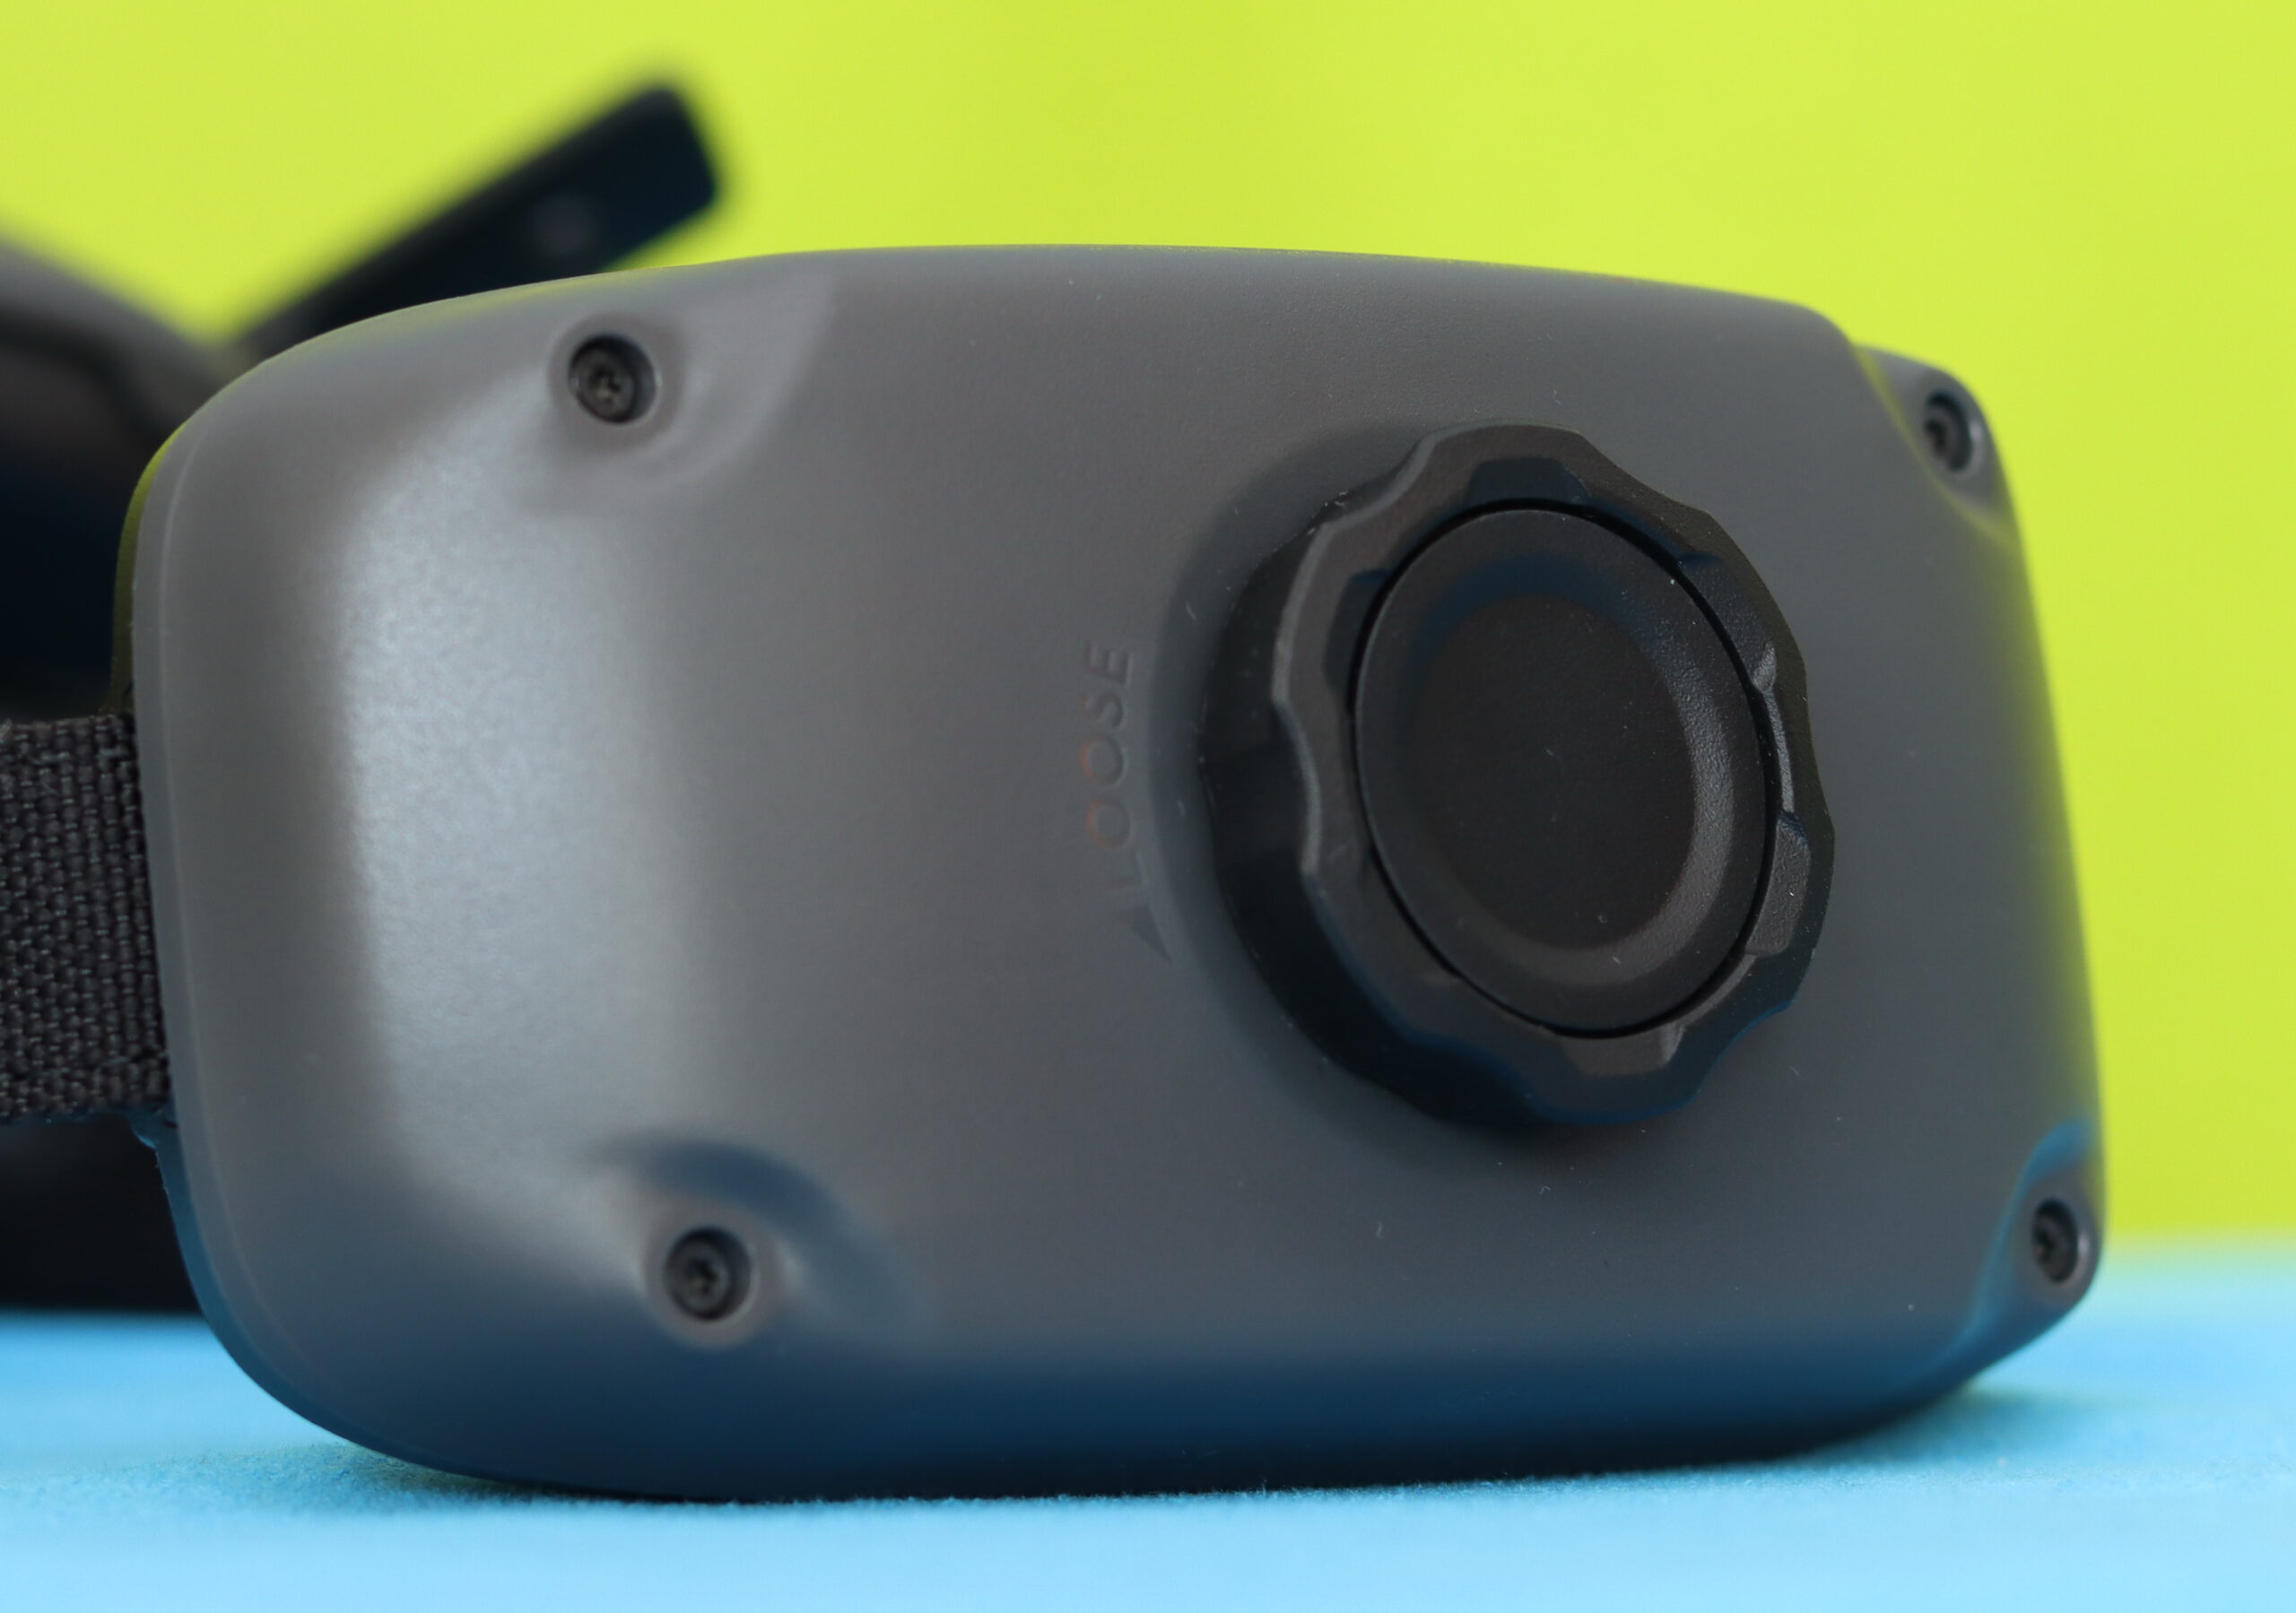
The first time I put on the Goggles 3, I noticed how balanced and comfortable they are, even without a T-type headband. The front—where the OLED screens and ports sit—rests naturally over your eyes, while the battery pack settles quietly at the back of your head, with no visible wires between the two parts. There’s no awkward pull, no constant need to readjust—just a steady, thoughtful distribution of weight. At the back, integrated into the battery case, there’s a headband adjustment knob that allows you to fine-tune the fit and sit the goggles comfortably on your head.
The controls are easily accessible and intuitive to find. The Goggles 3 weigh roughly 470 grams, including the battery. By comparison, my old Goggles V2, with the battery attached, weighed about 630 grams and was much bulkier. For me, the improvement in terms of comfort was significant.
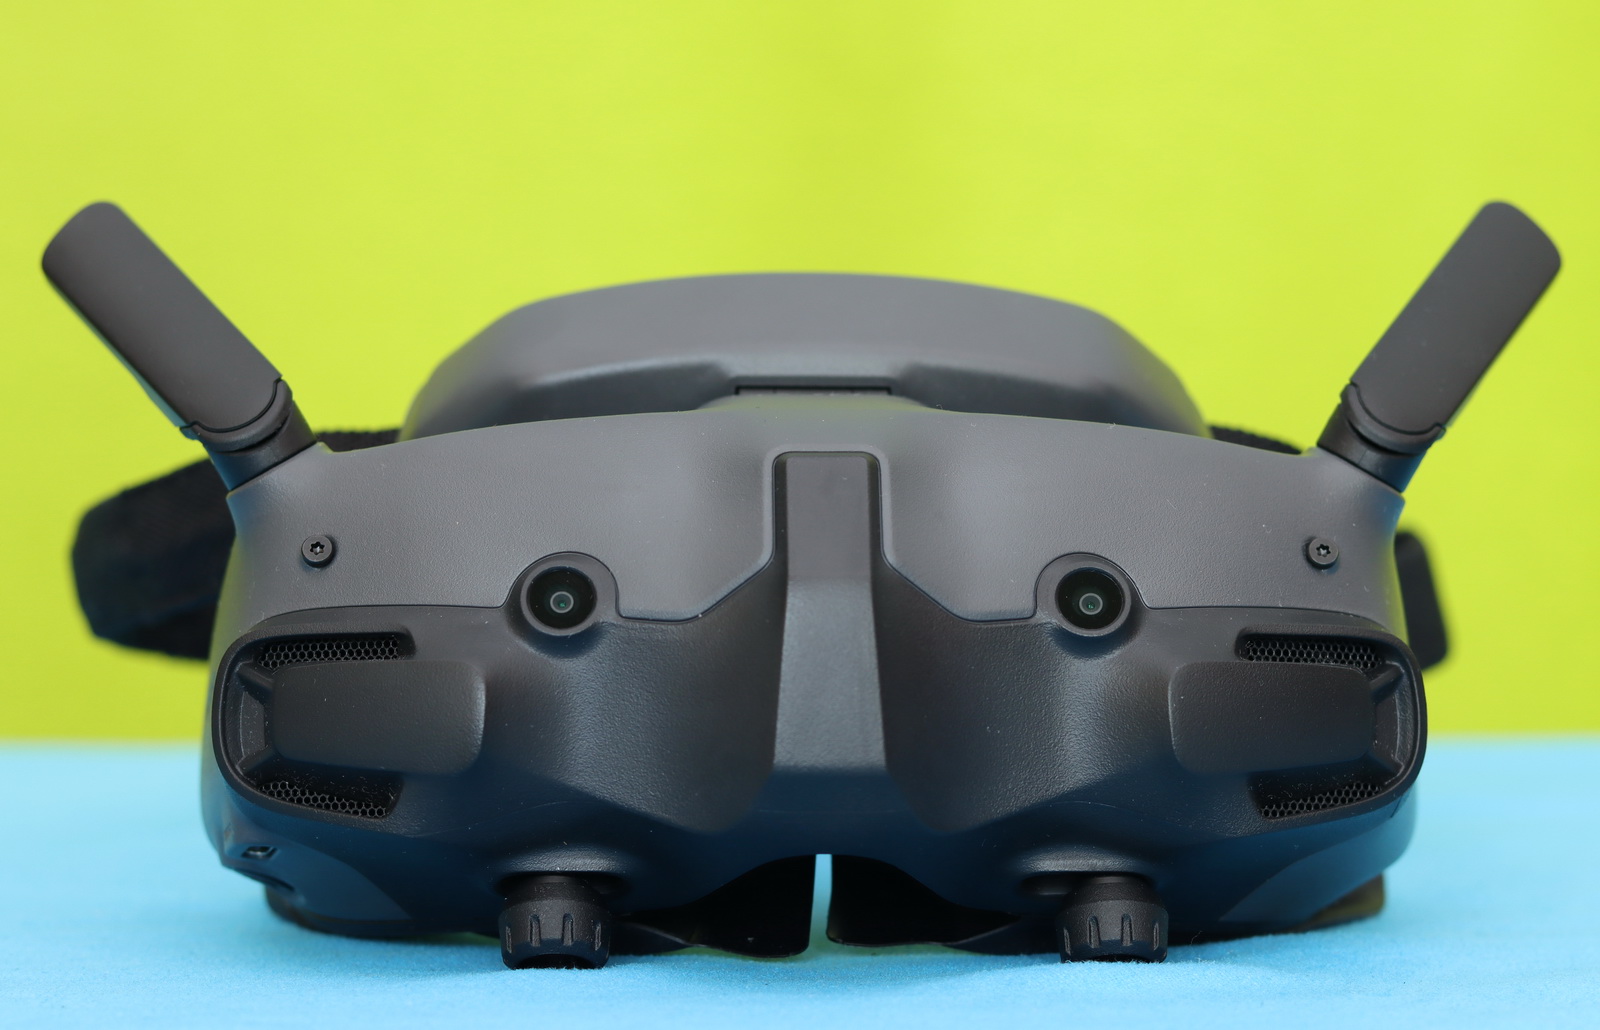
It has two foldable antennas on the top. Unfortunately, they don’t seem to be replaceable or upgradeable, so antenna modding (range hack) isn’t very easy. On the opposite side, at the bottom, two rotary sliders allow you to adjust the IPD and diopter.
On the front, two small cameras enable the “see-through” function, allowing you to look around without removing the headset. Inside, between the two lenses, just above the proximity sensor, there is a microSD card slot that allows you to record the live video feed and store FCC hack files.
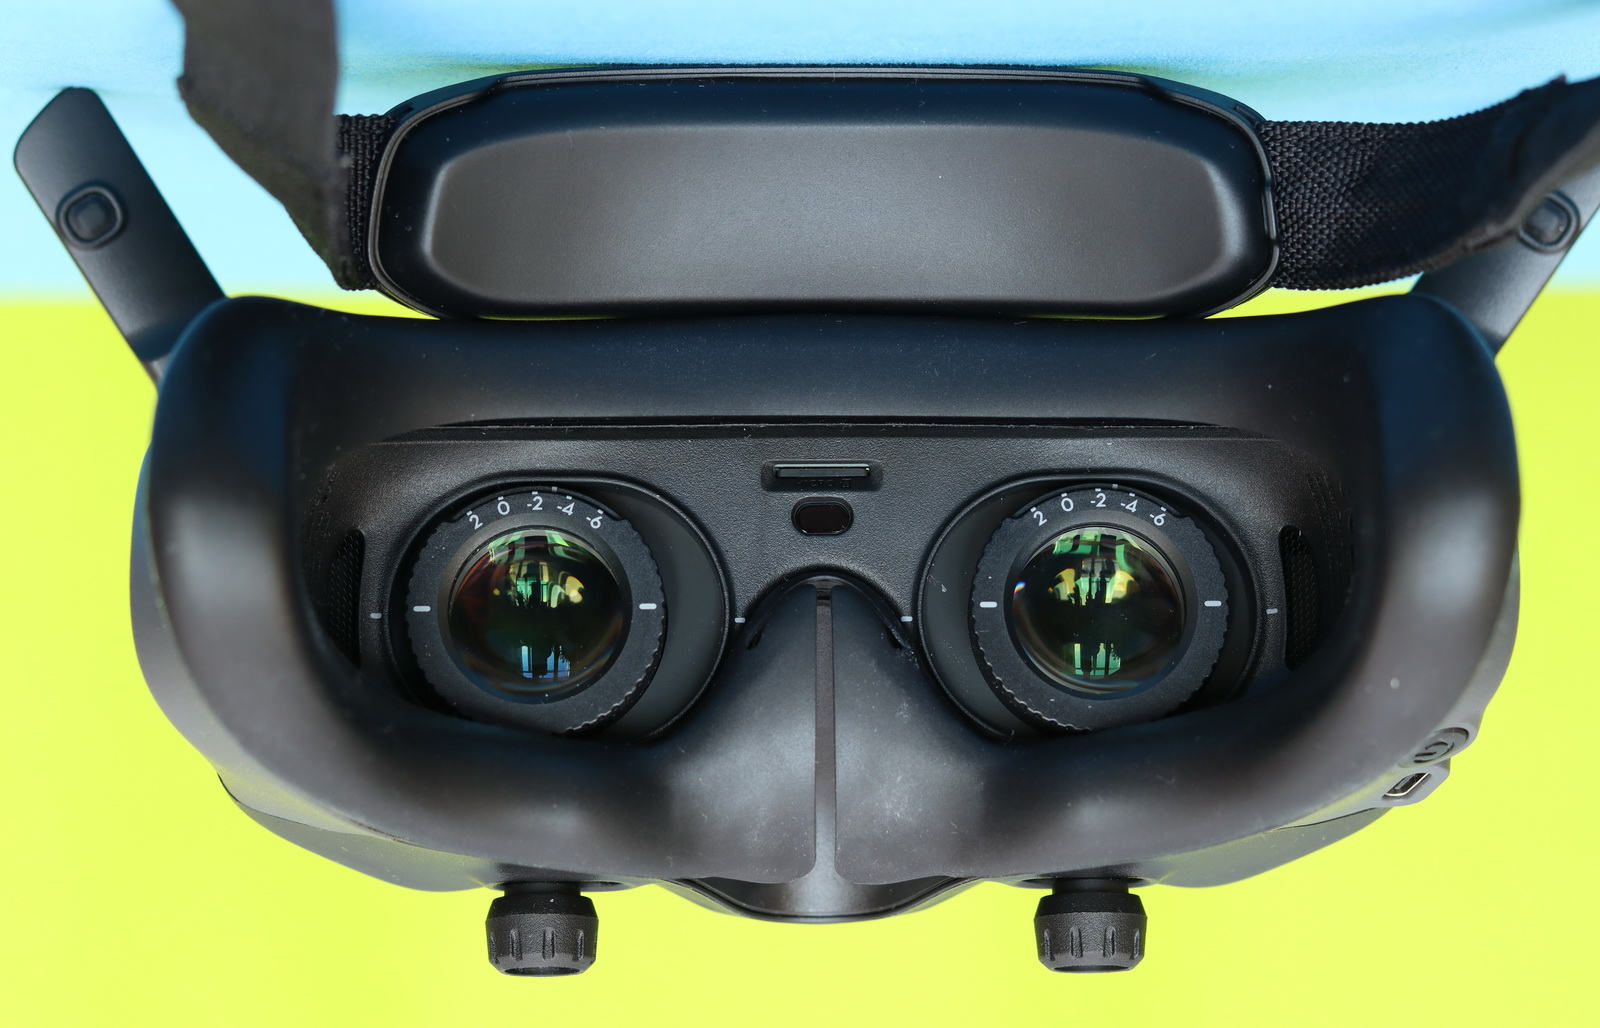
Speaking of connectivity, the DJI Goggles 3 come with only a USB-C port. There’s no analog video input for legacy 5.8G FPV systems, no HDMI input for other digital FPV brands or game consoles, and no HDMI output to connect to a larger screen. The USB-C port is primarily used for charging, data transfer, and firmware updates. It allows you to recharge the integrated battery, connect the goggles to a computer to access recorded footage from the microSD card, and install updates via DJI Assistant 2.
The dual 1080p Micro-OLED screens have up to a 100 Hz refresh rate. The DJI Goggles 3 features a maximum video transmission range of up to 13 km (FCC compliant) using the O4 system. Latency is as low as 24 ms, providing a near-instant view.
Key features
- [Real View PiP, An Effortless Reality Check] A simple double-tap on the right-side panel of the goggles toggles the display between the interactive interface and the live view of the real-world environment, while the real-time flight footage remains consistently displayed in the upper left corner of the screen. Without removing your goggles, you can now conveniently observe your surroundings to get enhanced flight safety.
- [Next-Gen O4 HD Video Transmission] Equipped with DJI’s latest O4 digital video transmission with a 2-transmitter, 4-receiver, and 6-antenna design, ensuring a robust anti-interference capability. The system features a transmission latency as low as 24 ms, covers a range of up to 13 km, and automatically selects between the 2.4 GHz and 5.8 GHz bands [5] depending on signal conditions to maintain stable, near-synchronous flight perceptions.
- [Battery and Headband Integration] The sleek design, weighing in at a mere 470 g with an even weight distribution, integrates the battery with the headband. This liberates you from the tangle of cables, making the goggles easy to put on and take off, leaving you free to move. With a lengthy 3-hour operating time, there’s more than enough power to meet the needs of immersive flights – circle through the sky multiple times and still have a generous battery reserve.
- [Refraction Adjustment, Instant Clarity] Supporting a diopter adjustment from -6.0 D to +2.0 D, Goggles 3 enables real-time visibility directly onscreen, making adjustments a simple and swift operation.
- [Quick Control With AR Cursor] When used with DJI RC Motion 3, you can treat the Motion 3 as an AR cursor to navigate the menu on the goggles’ screen. The AR cursor makes using Goggles 3 simple. Enabling functions, adjusting the camera settings, and modifying transmission specifications have never been more efficient.
DJI Goggles 3 Controls: Buttons and User Interface
There is no status or live screen on the G3; instead, four LEDs on the right serve as a battery-level indicator. Besides the ON/OFF power button, there is only a “Back” button and a tiny 5D joystick. Press or push to the right to open the settings menu. Push forward to open the camera settings panel, and push backward to open the shortcut menu. After the settings panel opens, press to navigate the menu or adjust parameters. Press to confirm your selection, or use the back button to exit the menu.
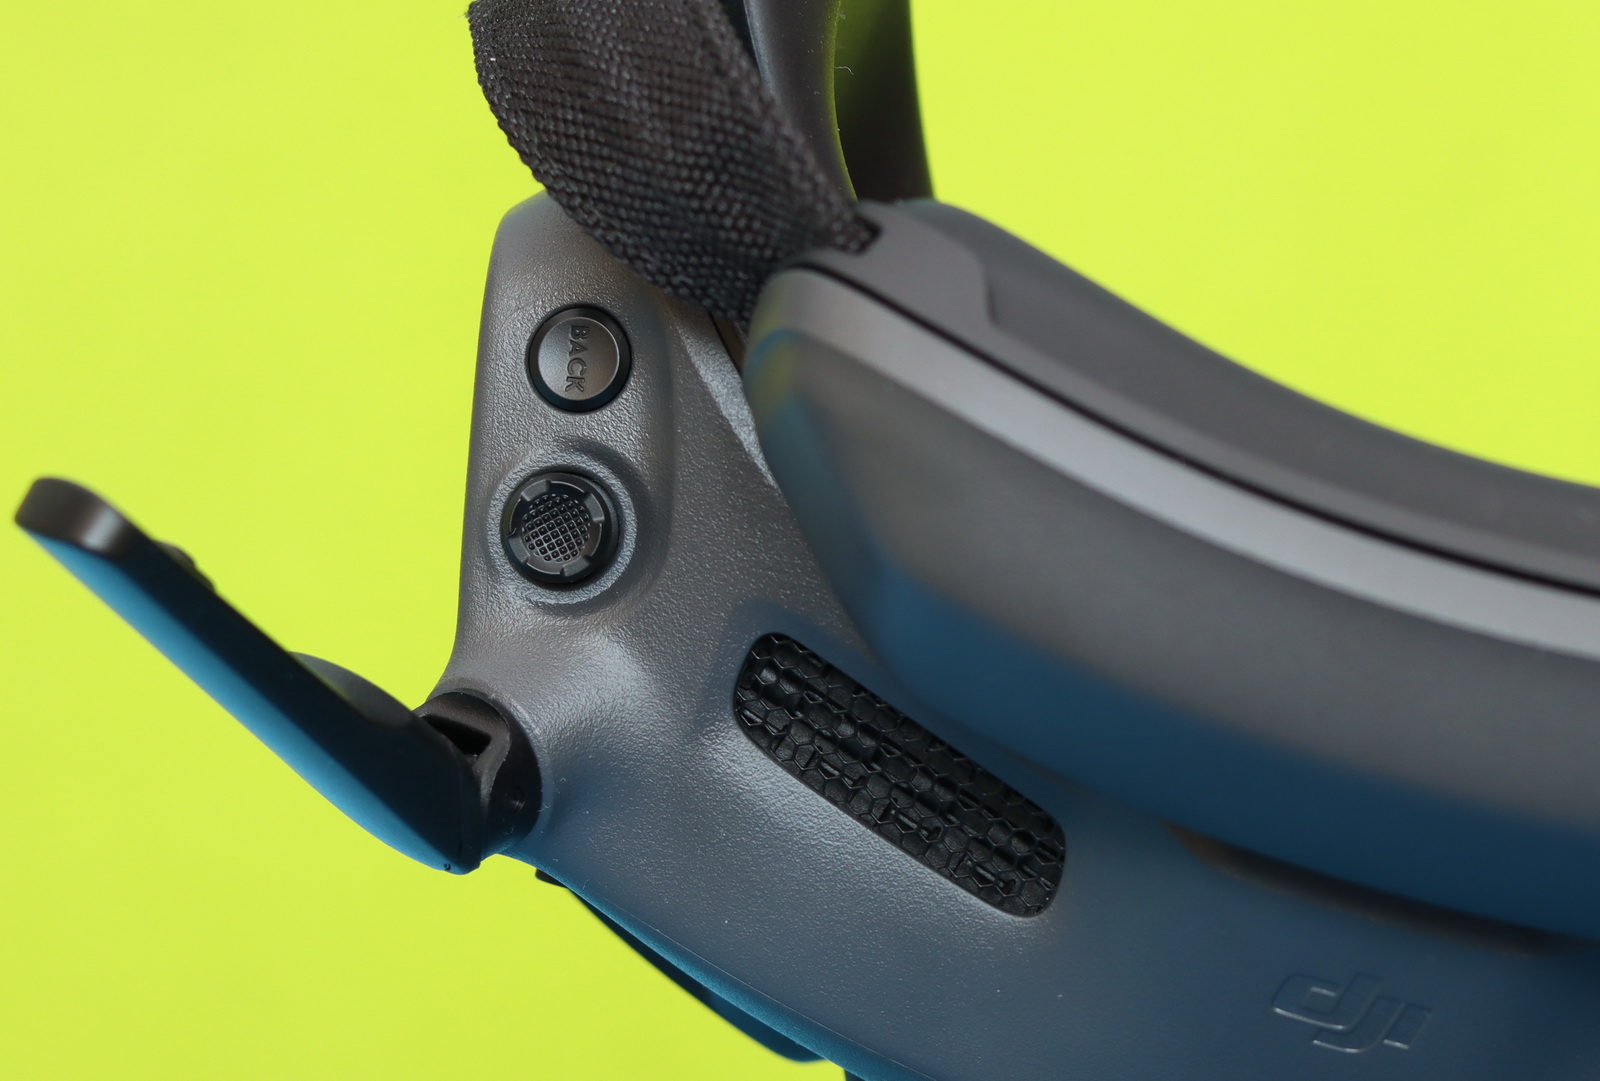
To access the binocular cameras and view your surroundings, simply tap twice firmly on the right side of the goggles. Perform the same action again to exit and return to the live flight view.
When paired with the Motion RC3 controller, the way you interact with the Goggles 3 changes completely. Instead of relying on physical buttons, you navigate the interface using an AR cursor—almost like pointing a laser at what you want to select. It feels surprisingly natural after a short time, turning the whole experience into something more immersive and intuitive.
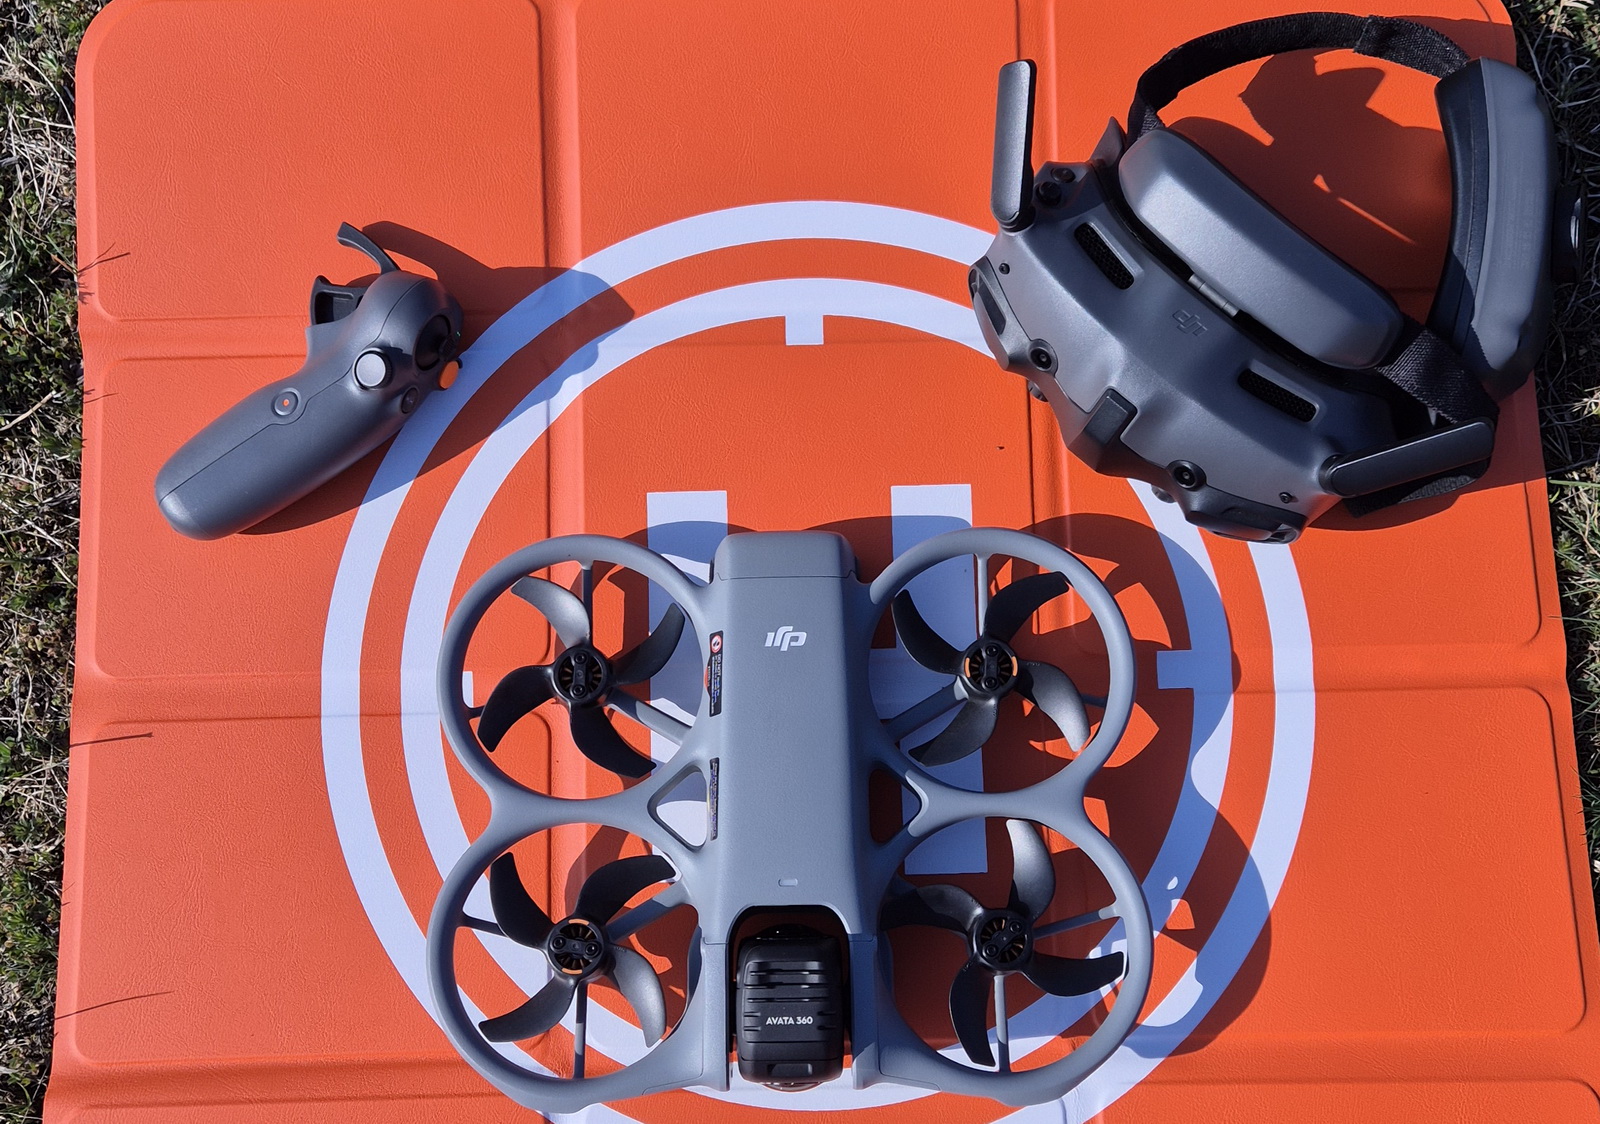
The Goggles 3 also feature a built-in gyroscope, which opens up even more possibilities when used with compatible drones. By simply moving your head, you can control the yaw of the drone or tilt the gimbal, adding a new layer of precision and engagement. And in the case of the newer DJI Avata 360, it goes even further—allowing you to freely look around in all directions, as if you were inside the drone itself, with a full 360-degree view of the world around you.
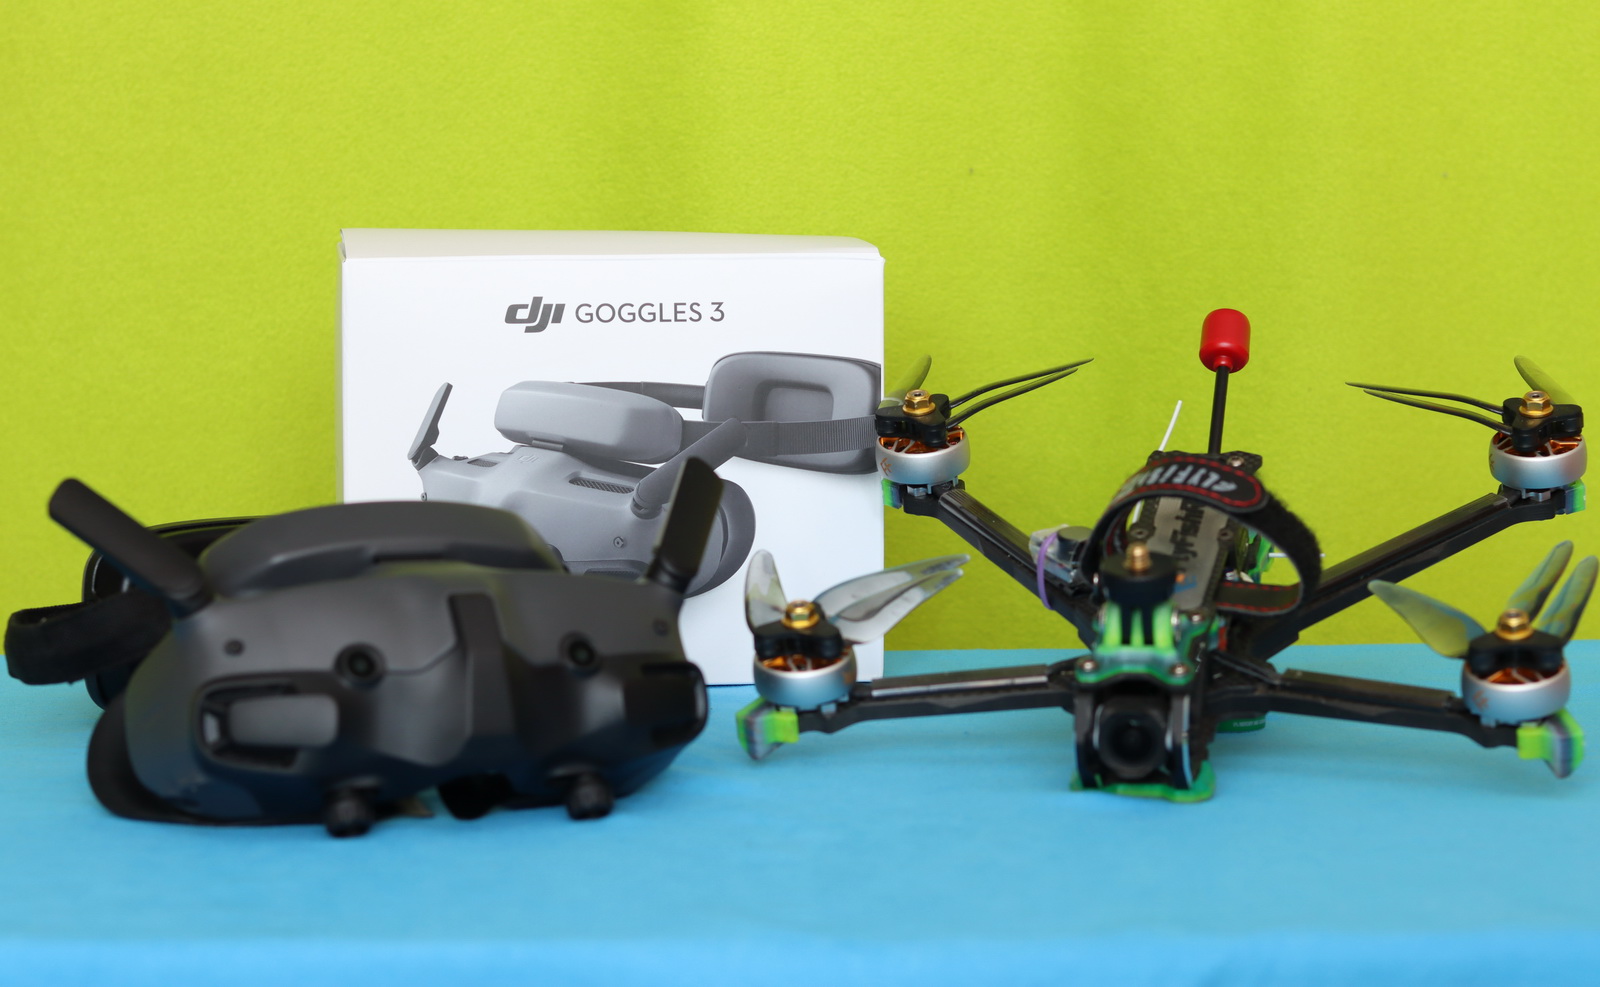
DJI Goggles 3 compatibility table (Drones and HD FPV systems)
Over the past two years, I’ve tested the Goggles 3 with several custom-built FPV drones equipped with DJI O3, O4 Pro, and O4 Lite Air Units. Of course, I’ve also used them with DJI drones such as the Mini 4 Pro and the new Avata 360. All of them bound smoothly, with no compatibility or other issues. Of course, you need to use the latest firmware when working with newer-generation gear.
| Drone / System | Compatible |
| DJI FPV | No |
| Avata 1 | No |
| Avata 2 | Yes |
| Avata 360 | Yes |
| NEO | Yes |
| Mini 3 Pro | No |
| Mini 4 Pro | Yes |
| Mini 5 Pro | No |
| Air 3 | Yes |
| Air Unit, Caddx Vista, RunCam Link | No |
| O3 Air Unit | Yes |
| O4 Air Unit Pro | Yes |
| O4 Air Unit (Lite) | Yes |
Budget-Friendly FPV: Should You Go for DJI Goggles 3 or N3?
The first thing I look at when buying a product is the price, and honestly, there’s a significant difference between the G3 ($499) and the GN3 ($229) — but is it worth it?
Both FPV goggles offer the same level of compatibility with existing DJI drones and FPV systems, allowing pilots to seamlessly connect and enjoy a consistent flying experience. Whether you’re using the latest O4 Air Unit, the O3 system, or other supported DJI devices, both goggles ensure reliable signal transmission, stable video feed, and full access to the features your drone provides.
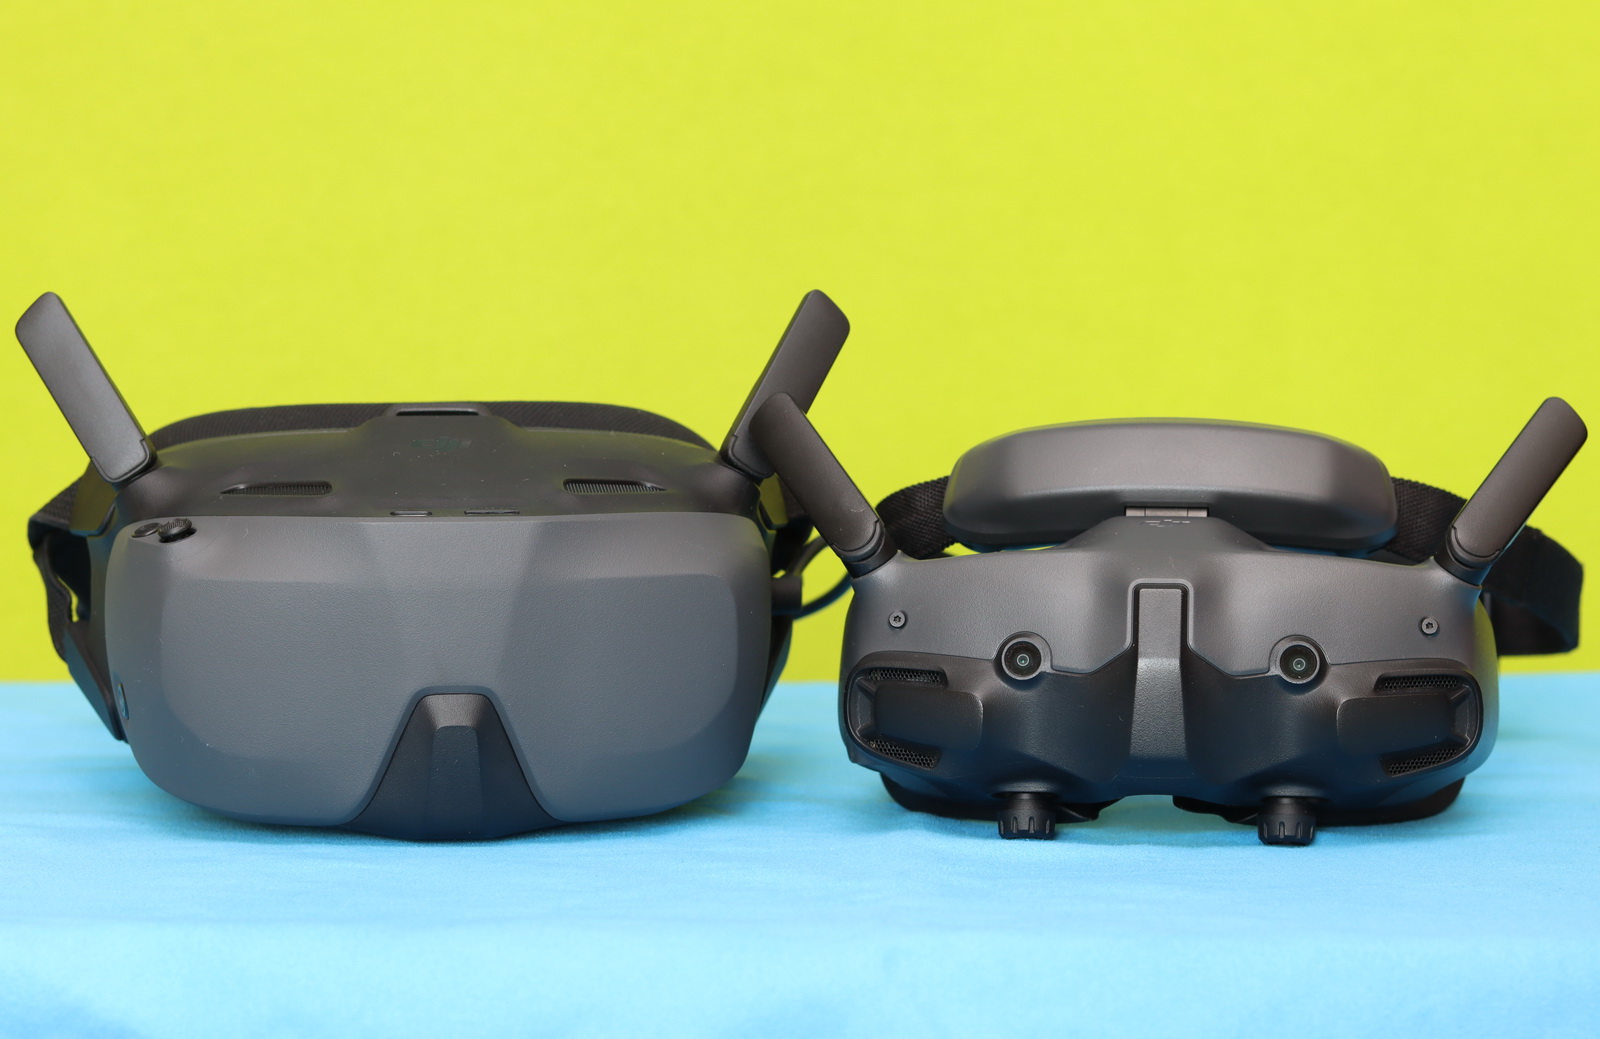
If you are on a tight budget and wear glasses, the N3 is probably the best choice since it fits over rather than taking them on/off. It is also half-priced as the G3.
On the other hand, the Goggles 3 are more compact, support higher refresh rates and lower latency, offer better resolution, dual screens, and top-tier performance, but cost twice as much.
| Features | Goggles 3 (TKGS3) | Goggles N3 (TKGSM) |
| Display type | Dual Micro-OLED (2 x 0.49 inch) | LCD (3.5 inches) |
| Resolution | 1920×1080 / eye | 1920×1080 |
| Refresh rate | Up to 100 Hz | Up to 60 Hz |
| Real View PiP | Yes, two cameras | No |
| Field of View (FOV) | ~44° | ~54° |
| Interpupillary Distance adjustment | 56-72 mm | N/A |
| Diopter Adjustment Range | +2 to -6 | N/A |
| Fit over prescription glasses | NO | Yes |
| Battery life | 3 hours | 2.7 hours |
| Design | Integrated battery + headband | Simpler design, some external cabling |
| Weight | 470 grams | 536 grams |
| Release date | April 2024 | November 2024 |
| Pricing | ~$499 – $659 | ~$229 – $250 |
Looking for DJI Goggles 3 Alternatives? Here’s Why They Don’t Truly Exist
If you’re looking for a digital FPV headset that offers the best overall user experience and seamless compatibility with the latest DJI products—whether drones or Air Units—the Goggles 3 are the obvious choice. From the moment you put them on, everything feels polished and well thought out, from the interface to the image quality and responsiveness.
One important thing to keep in mind is that DJI’s OcuSync transmission system is a closed ecosystem. That means you won’t find third-party headsets that can truly match or support it in the same way. If you want full compatibility and reliability, staying within DJI’s lineup isn’t just recommended—it’s practically required. Unfortunately, there is no single pair of goggles that works with all FPV systems—you’ll need a different headset for each protocol. I use the Goggles 3 for DJI, the Avatar Goggles X for Walksnail, the Vision for the Antigravity A1, and, more recently, the BetaFPV VR04 for ArtLynk.
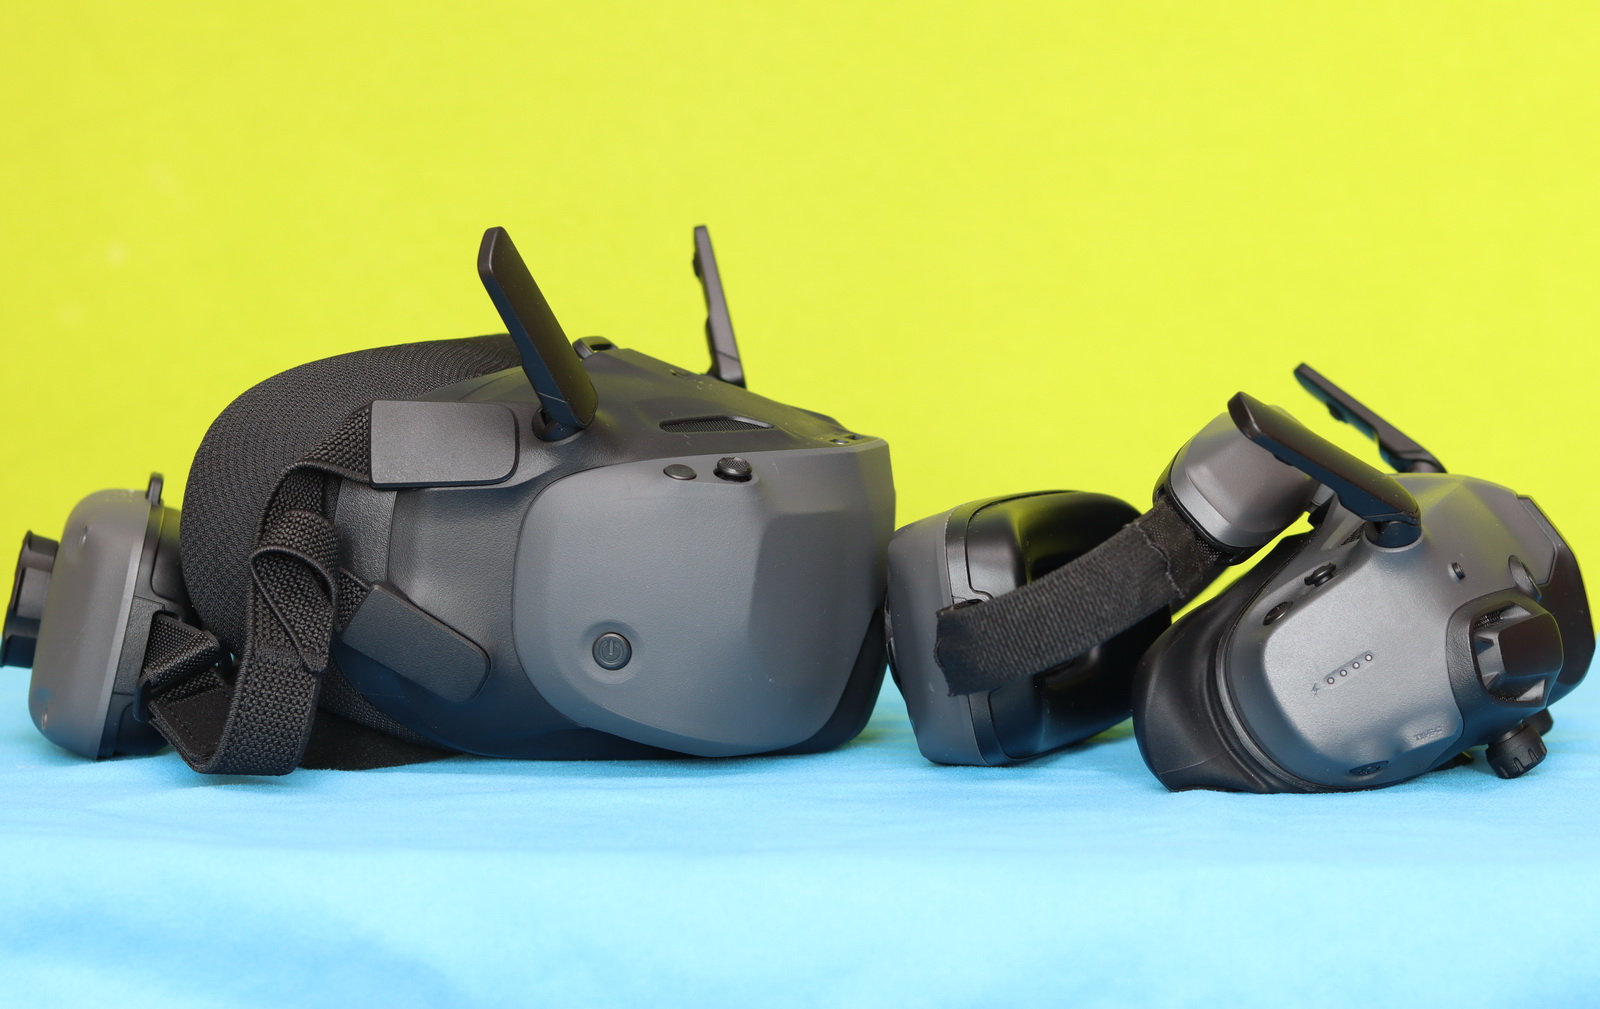
There is, of course, the N3 as a more budget-friendly alternative to the G3. But while it may save you some money upfront, it comes with noticeable compromises. The comfort, build quality, and overall experience simply don’t reach the same level. After spending time with both, it becomes clear that the Goggles 3 are designed to deliver a more premium, refined experience—one that you’ll appreciate even more during longer flying sessions.
You Can Trust Our Reviews!
Since 2014, FirstQuadcopter has reviewed, thoroughly tested, and rated hundreds of products, including drones, gimbals, power stations, action cameras, 3D printers, video lights, and other high-tech gear to help you make better buying decisions.
We don’t do paid reviews or agree to affiliate links. All products are tested fairly and equally, and if anything changes over time, I will update the written reviews.
As always, if you found this review helpful, don’t forget to like, share, comment, and bookmark for more content like this!


The Goggles 3 are the best for DJI FPV. Very comfortable, with excellent image quality.
Hi, can I use the Goggles 3 paired with the RC2?
Hi LaToya, and welcome to my blog.
The Goggles 3 can work together with the RC 2, but only with specific drones. The “conflict” comes from the fact that both devices have screens intended for live viewing.
As far as I know, only the Mini 4 Pro supports using this combination.