
When it comes to FPV flights, additional devices like this Black Box DVR are required to record the journey of your flights. In order to keep latency at lowest value possible, FPV cameras does not offer recording feature.
You have two options to record your FPV flights with the Black Box Micro D1M DVR. One is to split the camera’s video-out between the VTX and the DVR. Second one is to connect the DVR to the FPV monitor’s / Goggle’s video-out. While the first technique needs to mount the DVR on the aircraft, the second one keeps the FPV DVR on the ground.
Although recording the 5.8G video feed will be more noisy, I prefer it because in case of crashes or fly-away, you can’t lose the recorded footage. Also, the FPV DVR mounted on the aircraft adds some extra weight, which costs in flight time and performance.
Black Box Micro D1M technical specs and features
- 1 CH video recorder (with audio);
- Protective metal case;
- Configurable through desktop APP;
- Auto-start on power ON;
- Time-stamp can be added;
- Selectable clip size (1, 5, 10, or 15 minutes);
- PAL/NTSC video standards;
- HD (1280X720), D1(720X480) and VGA(640X480) recording formats;
- 5 ~ 15V power input.
Black Box DVR review with pros and cons
Disclosure: I received this External FPV DVR recorder as part of a product review collaboration with Banggood. Although the product was offered for free, all the opinions in this review remain my own.
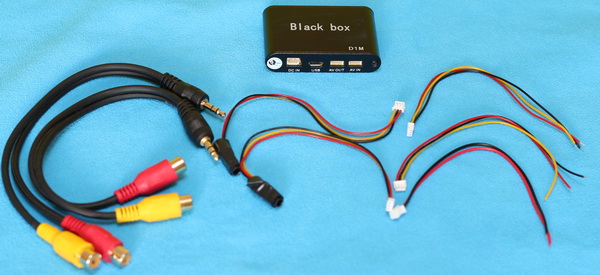
The FPV DVR comes in a small cardboard box with tons of cables (2 x AV-out, 2 x AV-In and DC-In) and a user manual. The included cables allow you to directly solder the DVR to the video source or to connect it via a 3.5 mm jack.
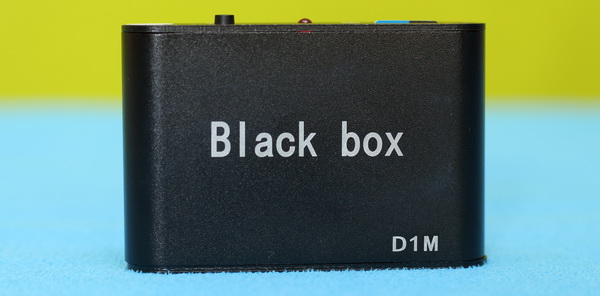
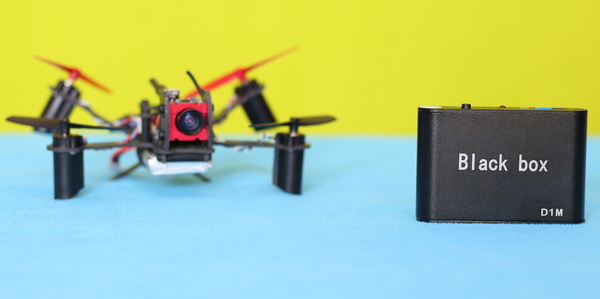
Unlike my older DVR which has a cheap plastic case, this Black Box D1M comes with a robust metal case and it measures 38 x 56 mm.
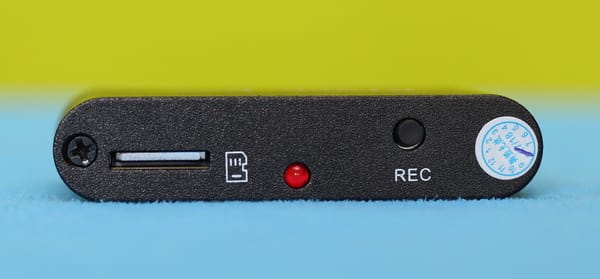
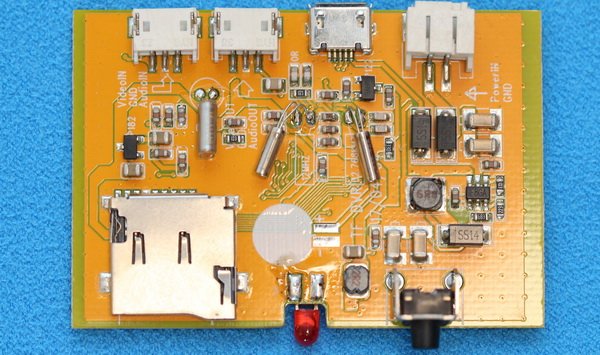
On the front panel are located the micro SD slot, status LED, and “Rec” button. According to the specs, the DVR accepts up to 32 GB micro SD cards. Through the “Rec” button, you can start/stop video recording.
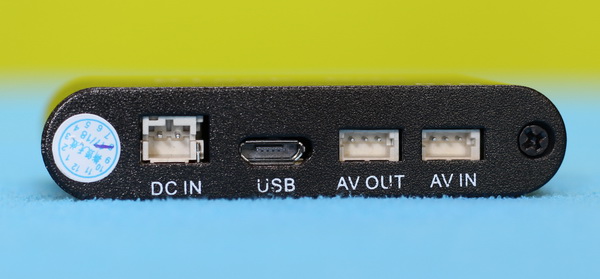
On the rear panel are located the DC-In, micro USB, AV-out and AV-in connectors. Through the USB, you can configure the DVR as well as to power up the D1M. The DC-In accepts a wide range of input voltage, 5 ~ 15V.
Black Box Micro D1M DVR review: Test and First usage
I opted to test the DVR using my RunCam Owl Plus camera and the Eachine LCD5802S FPV monitor. I connected the camera directly to the DVR, but no 5.8G VTX was interleaved. As a power source for the FPV recorder, I used a 2s 2000mAh battery.
As I previously mentioned, the BlackBox Micro D1M has only one button and to change the settings, you need to connect it to a Windows PC. Through the “SetTool” APP you can adjust the: Clip length, Recording resolution, Time-Stamp, and Video standard (PAL or NTSC). Practically, the tool creates a configuration file on the micro SD card.
After power ON, the DVR starts to record automatically, which is nice because I forget to push that damn “Record” button very often. BTW, the status LED flashes when the DVR is recording.
I made two tests, one with “VGA” resolution and one with “HD” res. While “VGA – 640 x 480 @ 25 fps” occupies about 34 MB, one minute of “HD – 1280 x 720 @ 25 fps” occupies 81 MB.
Thanks to the higher resolution, the image quality is significantly better in the case of “HD” mode. Both sample videos had 16-bit PCM mono audio with an 8000 Hz sample rate.
Pricing and availability
If you want a solid-build DVR with HD resolution, this D1M can be found here for $26.99 with free shipping.
I am unable to find the set tool app . When I power up the LED does not blink.
Thanks for this review, I bought one and was completely clueless about that Tool.
hi I don’t suppose you have the set tool app
Visitor Rating: 3 Stars
Visitor Rating: 4 Stars